Pages (function(i,s,o,g,r,a,m){i['GoogleAnalyticsObject']=r;i[r]=i[r]||function(){ (i[r

Showing posts with label home preservation. Show all posts

Tuesday, August 13, 2013

Making Fresh Blueberry Jam

We picked fresh local blueberries. We made jam. We used this recipe and took some photos.


For every three pints of blueberries discard the stems and crush berries. This makes roughly 4 cups of crushed berries and you'll include 4 cups of sugar and a package suregel.

We did not filter out the parts of fruit, thus, making blueberry jam. 

Steps

1. Bring water-bath canner, half full with water, to simmer. 
2. Wash jars and bands in hot, soapy water. Rinse with warm water. Drain well before filling.

3. Pour boiling water over flat lids in saucepan turn off the heat. Let stand in hot water until ready to use. 
4. Prepare fruit as described above. Measure exact amount into sauce pan - using less sugar with result in set failure. (don't add the sugar yet, however! only the fruit)


3. Sir in a box of pectin (suregel) into the sauce pot. Stir in water. 
4. Bring mixture to a full rolling boil.

5. Stir in sugar quickly (THIS IS WHEN YOU ADD SUGAR FROM ABOVE)
6. Ladle into jars, wipe jar rim, place lids from warm water onto jar, and screw on a jar ring to each jar.


7. If jam is hot there is no need to place them in canner. You can process jars in water bath canner for about seven minutes to ensure the jam inside is hot enough to create a seal for your preserved jam.


8. Once processed use a jar lifter to lift jars out of canner.

9. Let jars stand on counter for 24 hours while they seal. 


Tuesday, July 30, 2013

Canning Dilly Beans

It's the season for beans! & we've got a great dill-inspired snack


Preserving dilly beans is quick, easy and doesn't require a pressure canner.

It's the same basic recipe for canning dill pickles. Vinegar protects the food from bacteria that regular canning takes more time and heat to do. For these dilly beans (without pressure) it takes 15 minutes in a waterbath. Regular green beans are canned under pressure for about 25 minutes (or three hours in a waterbath canner).

trying new jar size - Pint and a Half. 

*note - jar needs more headspace

Ingredients: 

  • 8 pint and a half jars (we wanted to try the new size!) and 1 wide-mouth quart jar washed with hot soapy water and let dry
  • 9 wide-mouth lids and rings fit together placed in medium saucepan covered with water and brought to a simmer
  • fresh dill & green beans washed, broken and scrubbed
  • 1 or more cloves of pealed garlic

Brine:

  • 8 1/2 cups of water
  • 2 1/4 cups of white vinegar
  • 1/2 cup of pickling salt

Before Filling Jars: 

  • Fill water bath canner half-full with water; set on stove burner
  • In large saucepan, bring water, vinegar and salt to boil; turn off the heat; set aside

Filling Jars: 

  • place a layer of dill and garlic at the bottom of each jar, 
  • tightly load beans into the jar to the neck of the jar (depending on size you may have two layers)
  • add a top layer of dill and garlic clove if desired
  • Pour brine into filled jars leaving half-inch head space (no brine or beans at the top to ensure proper jar seal)

  • Add lid and ring to each jar, tighten them evenly (wiping the glass jar lip with a clean cloth will help ensure the jars seal properly) 

  • Place jars into your waterbath canner with water JUST to the necks of the jars
  • Bring water almost to a boil (about 15 minutes depending on how fast it heats) - boiling for 6-10 minutes 
  • Remove jars, carefully set on a dish towel on the kitchen counter and wait for the seal - the indented lid (it sounds like a "pop")


Dilly beans are a fast and easy way to process a season's bean crop without using a pressure canner. 
When we picked beans we also took advantage of the season's wild berries, yum! 


Sunday, July 21, 2013

Easy Canning: Making Dill Pickles

Last weekend I helped a friend preserve his massive amount of cucumbers as dill pickles. He grew these cucumbers himself. After they are harvested, he preserves many of them with his mom's help (for now). I knew how to make dill pickles from our Mrs.Wages pickle mix, but never before had I considered how easy it would be to use ingredients all from my garden!

Forget all other pickling recipes - this is the best.

Ingredients

  • 7 wide-mouth quart jars
  • 7 wide-mouth lids & rings
  • fresh dill, cucumbers washed and scrubbed (sort into sizes for nice-looking jars)
  • 1 or more cloves of pealed garlic

Cucumbers
Garlic
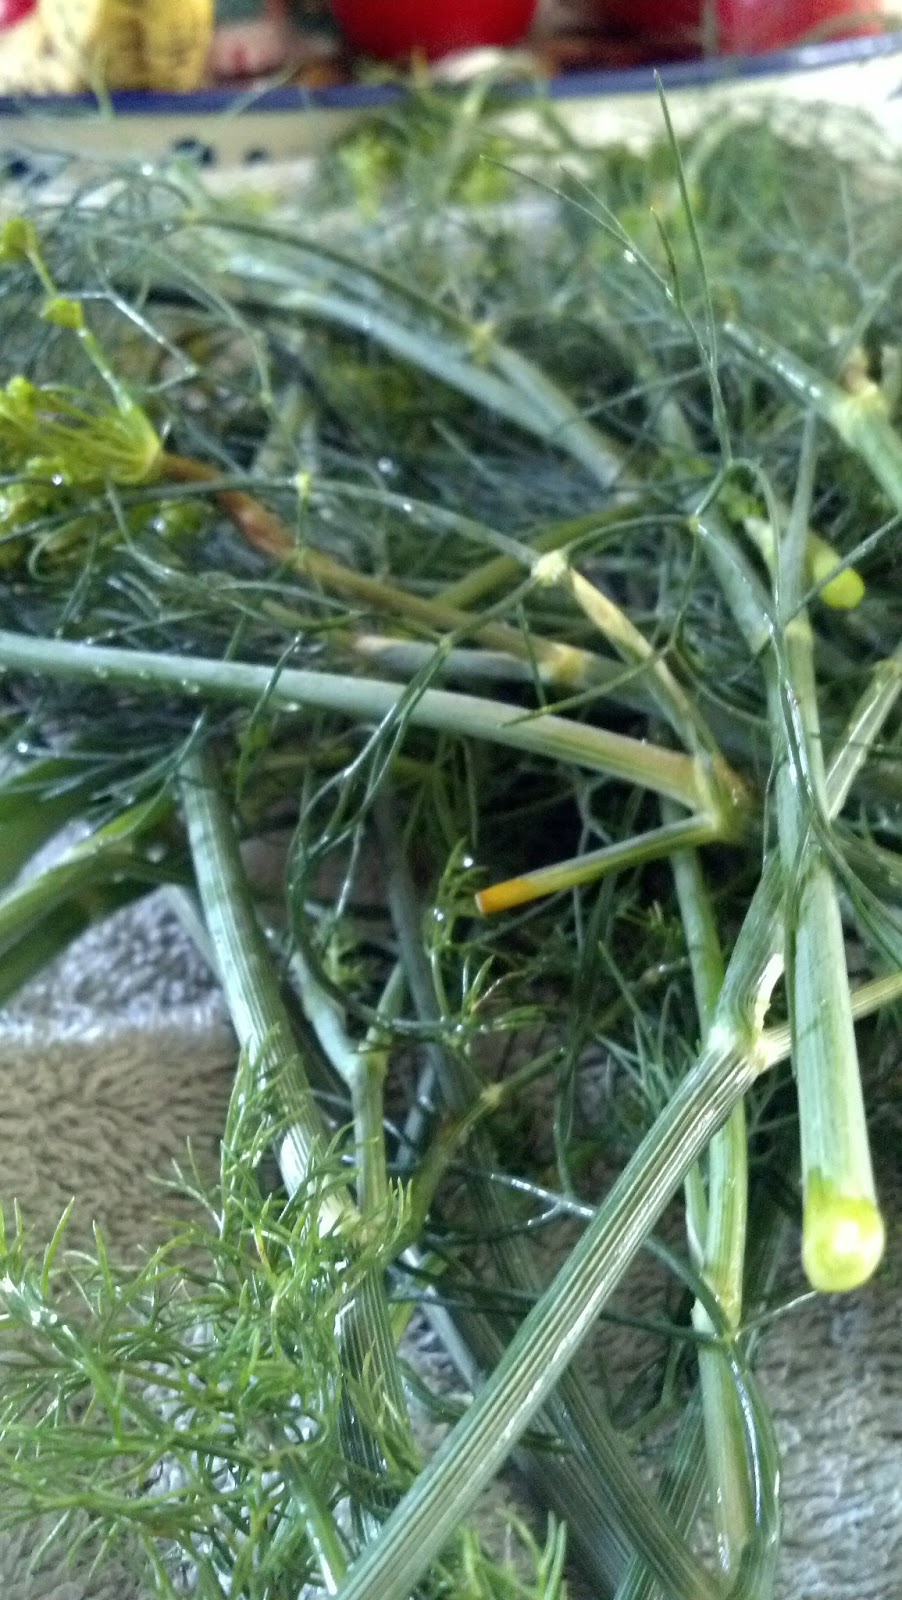
Dill 


Brine

  • 8 1/2 cups of water
  • 2 1/4 cups of white vinegar
  • 1/2 cup of pickling salt

Directions

GET ALL OF THIS GOING BEFORE FILLING THE JARS

  • Wash 7 jars in hot, soapy water then rinse and let dry
  • Fill water bath canner half-full with water; set on stove burner
  • In medium saucepan, fit lids and rings together, cover with water, bring to a simmer
  • In large saucepan, bring water, vinegar and salt to boil; turn off the heat; set aside

FILLING JARS: 

  • place a layer of dill and garlic at the bottom of each jar, 
  
  • tightly load cukes into the jar to the neck of the jar (depending on size you may have two layers of cukes)
      
  • add a top layer of dill and garlic clove if desired

  
  • Pour brine into filled jars leaving half-inch head space
   
  • Add lid and ring to each jar, tighten them evenly (wiping the glass jar lip with a clean cloth will help ensure the jars seal properly) 


Bring water almost to a boil (about 15 minutes depending on how fast it heats - too long and you'll not have crispy pickles) 
  • Remove jars, carefully set on a dish towel on the kitchen counter and wait for the seal - the indented lid (it sounds like a "pop")


Related Posts Plugin for WordPress, Blogger...