Pages (function(i,s,o,g,r,a,m){i['GoogleAnalyticsObject']=r;i[r]=i[r]||function(){ (i[r

Showing posts with label How To. Show all posts

Friday, March 6, 2015

Matches in a Mason Jar - Life Hack

Pair any box of matches with a mason jar and screw band.
Simple functionality all winter long. 


First, you have to create the lid. 
Make sure to include a large striking strip on the lid.

Cut and place your lid of match box cardboard under the jar screw band. 
Fill the mason jar with matches, 
& attach the lid. 

mason jar craft

Shakable, mason jar match dispenser. 
FOR THE WIN

Wednesday, September 17, 2014

6 Fall DIY porch decor ideas with glass bottles, flowers, paint, buckets and candy.

The days are getting shorter and the dusk cool air of the harvest season is unmistakable. It's the season for tiny pumpkins and spooky ghosts before the family makes plans for Thanksgiving and Christmas. Here are some simple and unique DIY fall decorations with an old fashioned flavor in the spirit of celebrating the emerging oranges, yellows, browns and reds of Autumn.

DIY Fall Decorations:
  1. Painted Glass Milk Bottles
  2. Hanging Pail with burlap
  3. Little red v & o rustic hanging lantern and tin tray
  4. A wooden bowl filed with fall candy favorites
  5. Yellow wild flowers in a quart glass milk bottle vase
  6. Dasies in a yellow bucket 


Use essentially any paint and swirl the colors around inside the bottle using a paint brush. I used yellow, red and white paint to make these three painted glass milk bottles in yellow, light orange and soft red. Try tying twine around the necks of bottles and cut strips of burlap to wrap around the center (secure with clear drying tacky glue).


I love rustic oil lanterns like this bright red one. They make nice homestead decorations and serve as lighting you can rely on. It's time to prepare for the storms and power outages of fall and winter - why not incorporate resilient practical elements like oil lanterns into our decorations? 

This lantern is displayed in a silver rectangle tin try lined in a piece of burlap with some dried Native American corn and newly fallen colorful Red Maple leaves. 


The galvanized bucket pail chosen for this hanging fall decoration has a sturdy handle attached so it hangs (or stands) flat against a wall or door. It's much more veritable than traditional rustic metal buckets. This bucket keeps the antique feel but makes for a very unique and more functional flat hanging metal bucket decoration. 

This bucket is a great idea as a container for simple and thoughtful gifts too. 

For fall decorations try filling your rustic metal bucket with tiny pumpkins (try to pick pumpkins with character - like the one with white dots pictured above - they represent our diverse heirloom food heritage). Orange and yellow flowers with the leaves of Autumn are all you need to create a great seasonal look in galvanized metal pails. 

The burlap in the bucket is a small burlap pouch (3" x 5") that is just right for giving notes of good wishes and thank you letters. The larger sizes of burlap sacks can be cut to make burlap strips and flat cloth for decorating place settings. 


It's not Fall without a bowl full of candy. You don't have to wait for Halloween to share Mary Jane, yellow honey drops, caramel chews, yellow jaw breakers, tasty round sweets, and delightful watermelon and cherry jolly ranchers with your visitors. 

Display your candy in a simple woven wooden bowl. 

 A very simple DIY quart glass milk bottle flower vase can really bring your fall decorations together. Slide a rolled strip of burlap into the bottle to line its interior before filling with your favorite fall color hand-picked wild flowers. 


This yellow metal bucket is a bright decoration perfect for the beginning of fall. Use it to display wildflowers like daises or to give a gift of sweet red table wine (bonus: later, fill bucket with ice to keep wine chilled throughout dinner). What do you think of this pleasant yellow bucket? If you would like to put your flowers in water, attach the burlap strip to the exterior of the bottle.


Early fall in our mountains of Virginia looks like this:


Good luck do it yourself-ers! May this harvest season bring you much nutrition and joy.

What simple rustic porch / outdoor decoration projects are you doing for early fall?


Tuesday, August 13, 2013

Making Fresh Blueberry Jam

We picked fresh local blueberries. We made jam. We used this recipe and took some photos.


For every three pints of blueberries discard the stems and crush berries. This makes roughly 4 cups of crushed berries and you'll include 4 cups of sugar and a package suregel.

We did not filter out the parts of fruit, thus, making blueberry jam. 

Steps

1. Bring water-bath canner, half full with water, to simmer. 
2. Wash jars and bands in hot, soapy water. Rinse with warm water. Drain well before filling.

3. Pour boiling water over flat lids in saucepan turn off the heat. Let stand in hot water until ready to use. 
4. Prepare fruit as described above. Measure exact amount into sauce pan - using less sugar with result in set failure. (don't add the sugar yet, however! only the fruit)


3. Sir in a box of pectin (suregel) into the sauce pot. Stir in water. 
4. Bring mixture to a full rolling boil.

5. Stir in sugar quickly (THIS IS WHEN YOU ADD SUGAR FROM ABOVE)
6. Ladle into jars, wipe jar rim, place lids from warm water onto jar, and screw on a jar ring to each jar.


7. If jam is hot there is no need to place them in canner. You can process jars in water bath canner for about seven minutes to ensure the jam inside is hot enough to create a seal for your preserved jam.


8. Once processed use a jar lifter to lift jars out of canner.

9. Let jars stand on counter for 24 hours while they seal. 


Tuesday, July 30, 2013

Canning Dilly Beans

It's the season for beans! & we've got a great dill-inspired snack


Preserving dilly beans is quick, easy and doesn't require a pressure canner.

It's the same basic recipe for canning dill pickles. Vinegar protects the food from bacteria that regular canning takes more time and heat to do. For these dilly beans (without pressure) it takes 15 minutes in a waterbath. Regular green beans are canned under pressure for about 25 minutes (or three hours in a waterbath canner).

trying new jar size - Pint and a Half. 

*note - jar needs more headspace

Ingredients: 

  • 8 pint and a half jars (we wanted to try the new size!) and 1 wide-mouth quart jar washed with hot soapy water and let dry
  • 9 wide-mouth lids and rings fit together placed in medium saucepan covered with water and brought to a simmer
  • fresh dill & green beans washed, broken and scrubbed
  • 1 or more cloves of pealed garlic

Brine:

  • 8 1/2 cups of water
  • 2 1/4 cups of white vinegar
  • 1/2 cup of pickling salt

Before Filling Jars: 

  • Fill water bath canner half-full with water; set on stove burner
  • In large saucepan, bring water, vinegar and salt to boil; turn off the heat; set aside

Filling Jars: 

  • place a layer of dill and garlic at the bottom of each jar, 
  • tightly load beans into the jar to the neck of the jar (depending on size you may have two layers)
  • add a top layer of dill and garlic clove if desired
  • Pour brine into filled jars leaving half-inch head space (no brine or beans at the top to ensure proper jar seal)

  • Add lid and ring to each jar, tighten them evenly (wiping the glass jar lip with a clean cloth will help ensure the jars seal properly) 

  • Place jars into your waterbath canner with water JUST to the necks of the jars
  • Bring water almost to a boil (about 15 minutes depending on how fast it heats) - boiling for 6-10 minutes 
  • Remove jars, carefully set on a dish towel on the kitchen counter and wait for the seal - the indented lid (it sounds like a "pop")


Dilly beans are a fast and easy way to process a season's bean crop without using a pressure canner. 
When we picked beans we also took advantage of the season's wild berries, yum! 


Sunday, July 21, 2013

Easy Canning: Making Dill Pickles

Last weekend I helped a friend preserve his massive amount of cucumbers as dill pickles. He grew these cucumbers himself. After they are harvested, he preserves many of them with his mom's help (for now). I knew how to make dill pickles from our Mrs.Wages pickle mix, but never before had I considered how easy it would be to use ingredients all from my garden!

Forget all other pickling recipes - this is the best.

Ingredients

  • 7 wide-mouth quart jars
  • 7 wide-mouth lids & rings
  • fresh dill, cucumbers washed and scrubbed (sort into sizes for nice-looking jars)
  • 1 or more cloves of pealed garlic

Cucumbers
Garlic
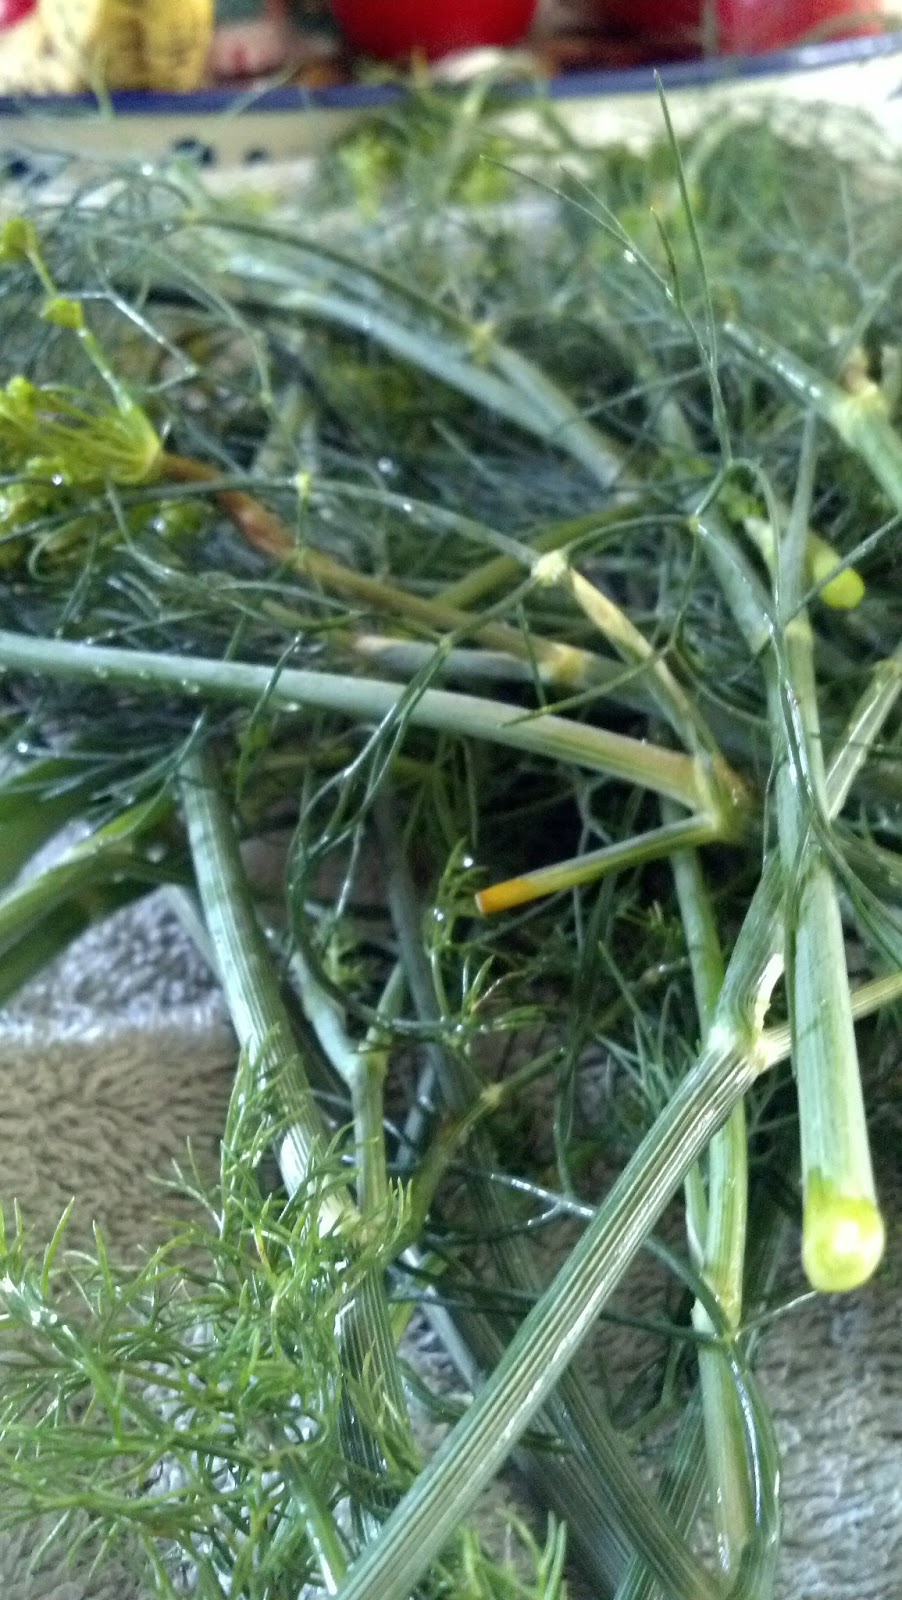
Dill 


Brine

  • 8 1/2 cups of water
  • 2 1/4 cups of white vinegar
  • 1/2 cup of pickling salt

Directions

GET ALL OF THIS GOING BEFORE FILLING THE JARS

  • Wash 7 jars in hot, soapy water then rinse and let dry
  • Fill water bath canner half-full with water; set on stove burner
  • In medium saucepan, fit lids and rings together, cover with water, bring to a simmer
  • In large saucepan, bring water, vinegar and salt to boil; turn off the heat; set aside

FILLING JARS: 

  • place a layer of dill and garlic at the bottom of each jar, 
  
  • tightly load cukes into the jar to the neck of the jar (depending on size you may have two layers of cukes)
      
  • add a top layer of dill and garlic clove if desired

  
  • Pour brine into filled jars leaving half-inch head space
   
  • Add lid and ring to each jar, tighten them evenly (wiping the glass jar lip with a clean cloth will help ensure the jars seal properly) 


Bring water almost to a boil (about 15 minutes depending on how fast it heats - too long and you'll not have crispy pickles) 
  • Remove jars, carefully set on a dish towel on the kitchen counter and wait for the seal - the indented lid (it sounds like a "pop")


Tuesday, May 7, 2013

10 Alternate Uses for a Coffee Grinder

If you've been thinking about investing in a coffee grinder, but don't necessarily want an appliance in your kitchen that only does one thing, then you will want to know about some of these other uses for a coffee grinder.
  1. Spices: a coffee grinder can easily stand in the place of a mortar and pestle when it comes to grinding spices. Easier to use than a mortar and pestle as well.
  2. Powdered Sugar: Use your coffee grinder to make your sugar super fine. You can use it in place of powdered sugar in recipes in a pinch.
  3. Chocolate Flakes: Need smaller chunks of chocolate as a garnish in recipes and don't have any on hand? Use your coffee grinder to grind up your chocolate into smaller chunks to use in place of chocolate flakes.
  4. Bread Crumbs: Use to turn stale bread into bread crumbs for recipes that call for them.
  5. Ground Flaxseeds: The outer hull of flaxseeds is undigestible, so to get the most from your flax seeds grind them up and add them into whatever your want to for a nutritional boost.
  6. Pulp Dried Fruit: this is an addition that is sometimes needed for desserts.
  7. Chopped Seeds & Nuts: Great to sprinkle on top of desserts or in a salad.
  8. Small Amounts of Flour: Have grains that you grind to make flour but only need a small amount? Use your coffee grinder to create small amounts of flour from grains.
  9. Milled Nut Flour: The same concept as making small amounts of flour from grain, you can make small amounts of milled nut flour using your coffee grinder.
  10. Ground Dried Mushrooms: Great way to grind up mushrooms for a soup.
Be careful with flavors that you put through your coffee grinder as some flavors will be hard to wash off completely and they can transfer over to your coffee or other items that are ground in the grinder. Also if you have used your coffee grinder to ground nuts, do not use to grind anything that will be consumed by someone with a nut allergy.

Related Posts Plugin for WordPress, Blogger...